How to use Redux toolkit with React JS
Redux is a state management library which offers a lot of features. The downside is it adds up a lot of boilerplate code and complexity to applications. The Redux toolkit solves these problems for us.
Redux toolkit reduces the complexities and the code we write to setup up redux. The Redux toolkit has redux-thunk capabilities built-in. We can divide our state into smaller states so that they are easily manageable. Redux toolkit makes it very easy to work with redux in react applications.
So let's see how we can use the redux toolkit with react. To understand how the redux toolkit works we will be building a small todo application.
if you are setting up a react project from scratch then you can directly use the create-react-app template for redux.
All the code is available on my GitHub repository (Link).
First, let's start with initializing our project with create react app
yarn create react-app redux-with-react
Then we need to install some libraries
yarn add react-redux @reduxjs/toolkit
We don't need to install the redux library, @reduxjs/toolkit has redux as its dependency. react-redux is the library that provides components and hooks to work with redux.
Now we create a store in which all our mini stores (slices) will reside. For that let's create a store folder and in that create an index.js file
src/store/index.js
import { configureStore } from "@reduxjs/toolkit";

export default configureStore({
  reducer: {},
});
We will import the configure store function from the redux toolkit. This function combines our multiple small stores into a single large store. Let's leave the reducer empty for now.
After creating the store we need to inform redux to use this store. For that, we will give the store to the Provider component. This provider component will live at the root level of react so that every child can access the store.
src/index.js
import React from "react";
import { createRoot } from "react-dom/client";
import { Provider as ReduxStoreProvider } from "react-redux";
import App from "./App";
import store from "./store";

const root = createRoot(document.getElementById("root"));
root.render(
  <React.StrictMode>
    <ReduxStoreProvider store={store}>
      <App />
    </ReduxStoreProvider>
  </React.StrictMode>
);
The react-redux library exports the provider component. Here we are importing the store we created earlier and passing it as a prop to the provider. Now every child can access the store regardless of how nested the child is.
Now let's create our first slice or mini-store. Create a file named todos.js inside the store folder. Redux toolkit calls mini-store as slices. To create a slice redux toolkit export a function named createSlice.
src/store/todos.js
import { createSlice } from "@reduxjs/toolkit";

const todosSlice = createSlice({});
The createSlice function takes in an object as a parameter. It can be provided many properties to configure the store.
src/store/todos.js
import { createSlice } from "@reduxjs/toolkit";

const todosSlice = createSlice({
  name: "todos",
  initialState: {
    todos: [],
  },
  reducers: {

  },
});
name: name is used to name the slice
initialState: initial state is used to provide state initial state value to our slice, we only have a todos array right now but we can have multiple properties here.
reducers: we can define methods in reducer to modify state values. Let's leave it empty for now.
Finally, we have completed our to-dos slice. At this time our main store doesn't know about the todos slice. To include the todos slice in the main store we have to export the reducer of the todos slice. The main store will use the exported todos slice reducer in store/index.js.
src/store/todos.js
import { createSlice } from "@reduxjs/toolkit";

const todosSlice = createSlice({
  name: "todos",
  initialState: {
    todos: [],
  },
  reducers: {

  },
});

export default todosSlice.reducer;
We have exported the reducer from the todos slice.
src/store/index.js
import { configureStore } from "@reduxjs/toolkit";
import todosReducer from "./todos";

export default configureStore({
  reducer: {
    todos: todosReducer,
  },
});
First, we have to provide the name of the slice and then the reducer.
Then we have to create a component which will render all todos from the todos slice. Before that let's add some random todos in our initial state so that we have something to render.
src/store/todos.js
import { createSlice } from "@reduxjs/toolkit";

const todosSlice = createSlice({
  name: "todos",
  initialState: {
    todos: [
      { id: "1", title: "first todo", completed: false },
      { id: "2", title: "second todo", completed: false },
    ],
  },
  reducers: {

  },
});
Now let's create Todos.jsx component
src/components/Todos.jsx
import React from "react";

const Todos = () => {
  return (
    <div>
      <h1>Todos</h1>
    </div>
  );
};

export default Todos;
To access our todos state we have to use hooks provided by the react-redux library. Hooks make it very easy to grab data from the redux store.
src/components/Todos.jsx
import React from "react";
import { useSelector } from "react-redux";

const Todos = () => {
  const { todos } = useSelector((state) => state.todos);

  return (
    <div>
      <h1>Todos</h1>
      {todos.map((todo) => (
        <div key={todo.id}>
          <h3>{todo.title}</h3>
        </div>
      ))}
    </div>
  );
};

export default Todos;
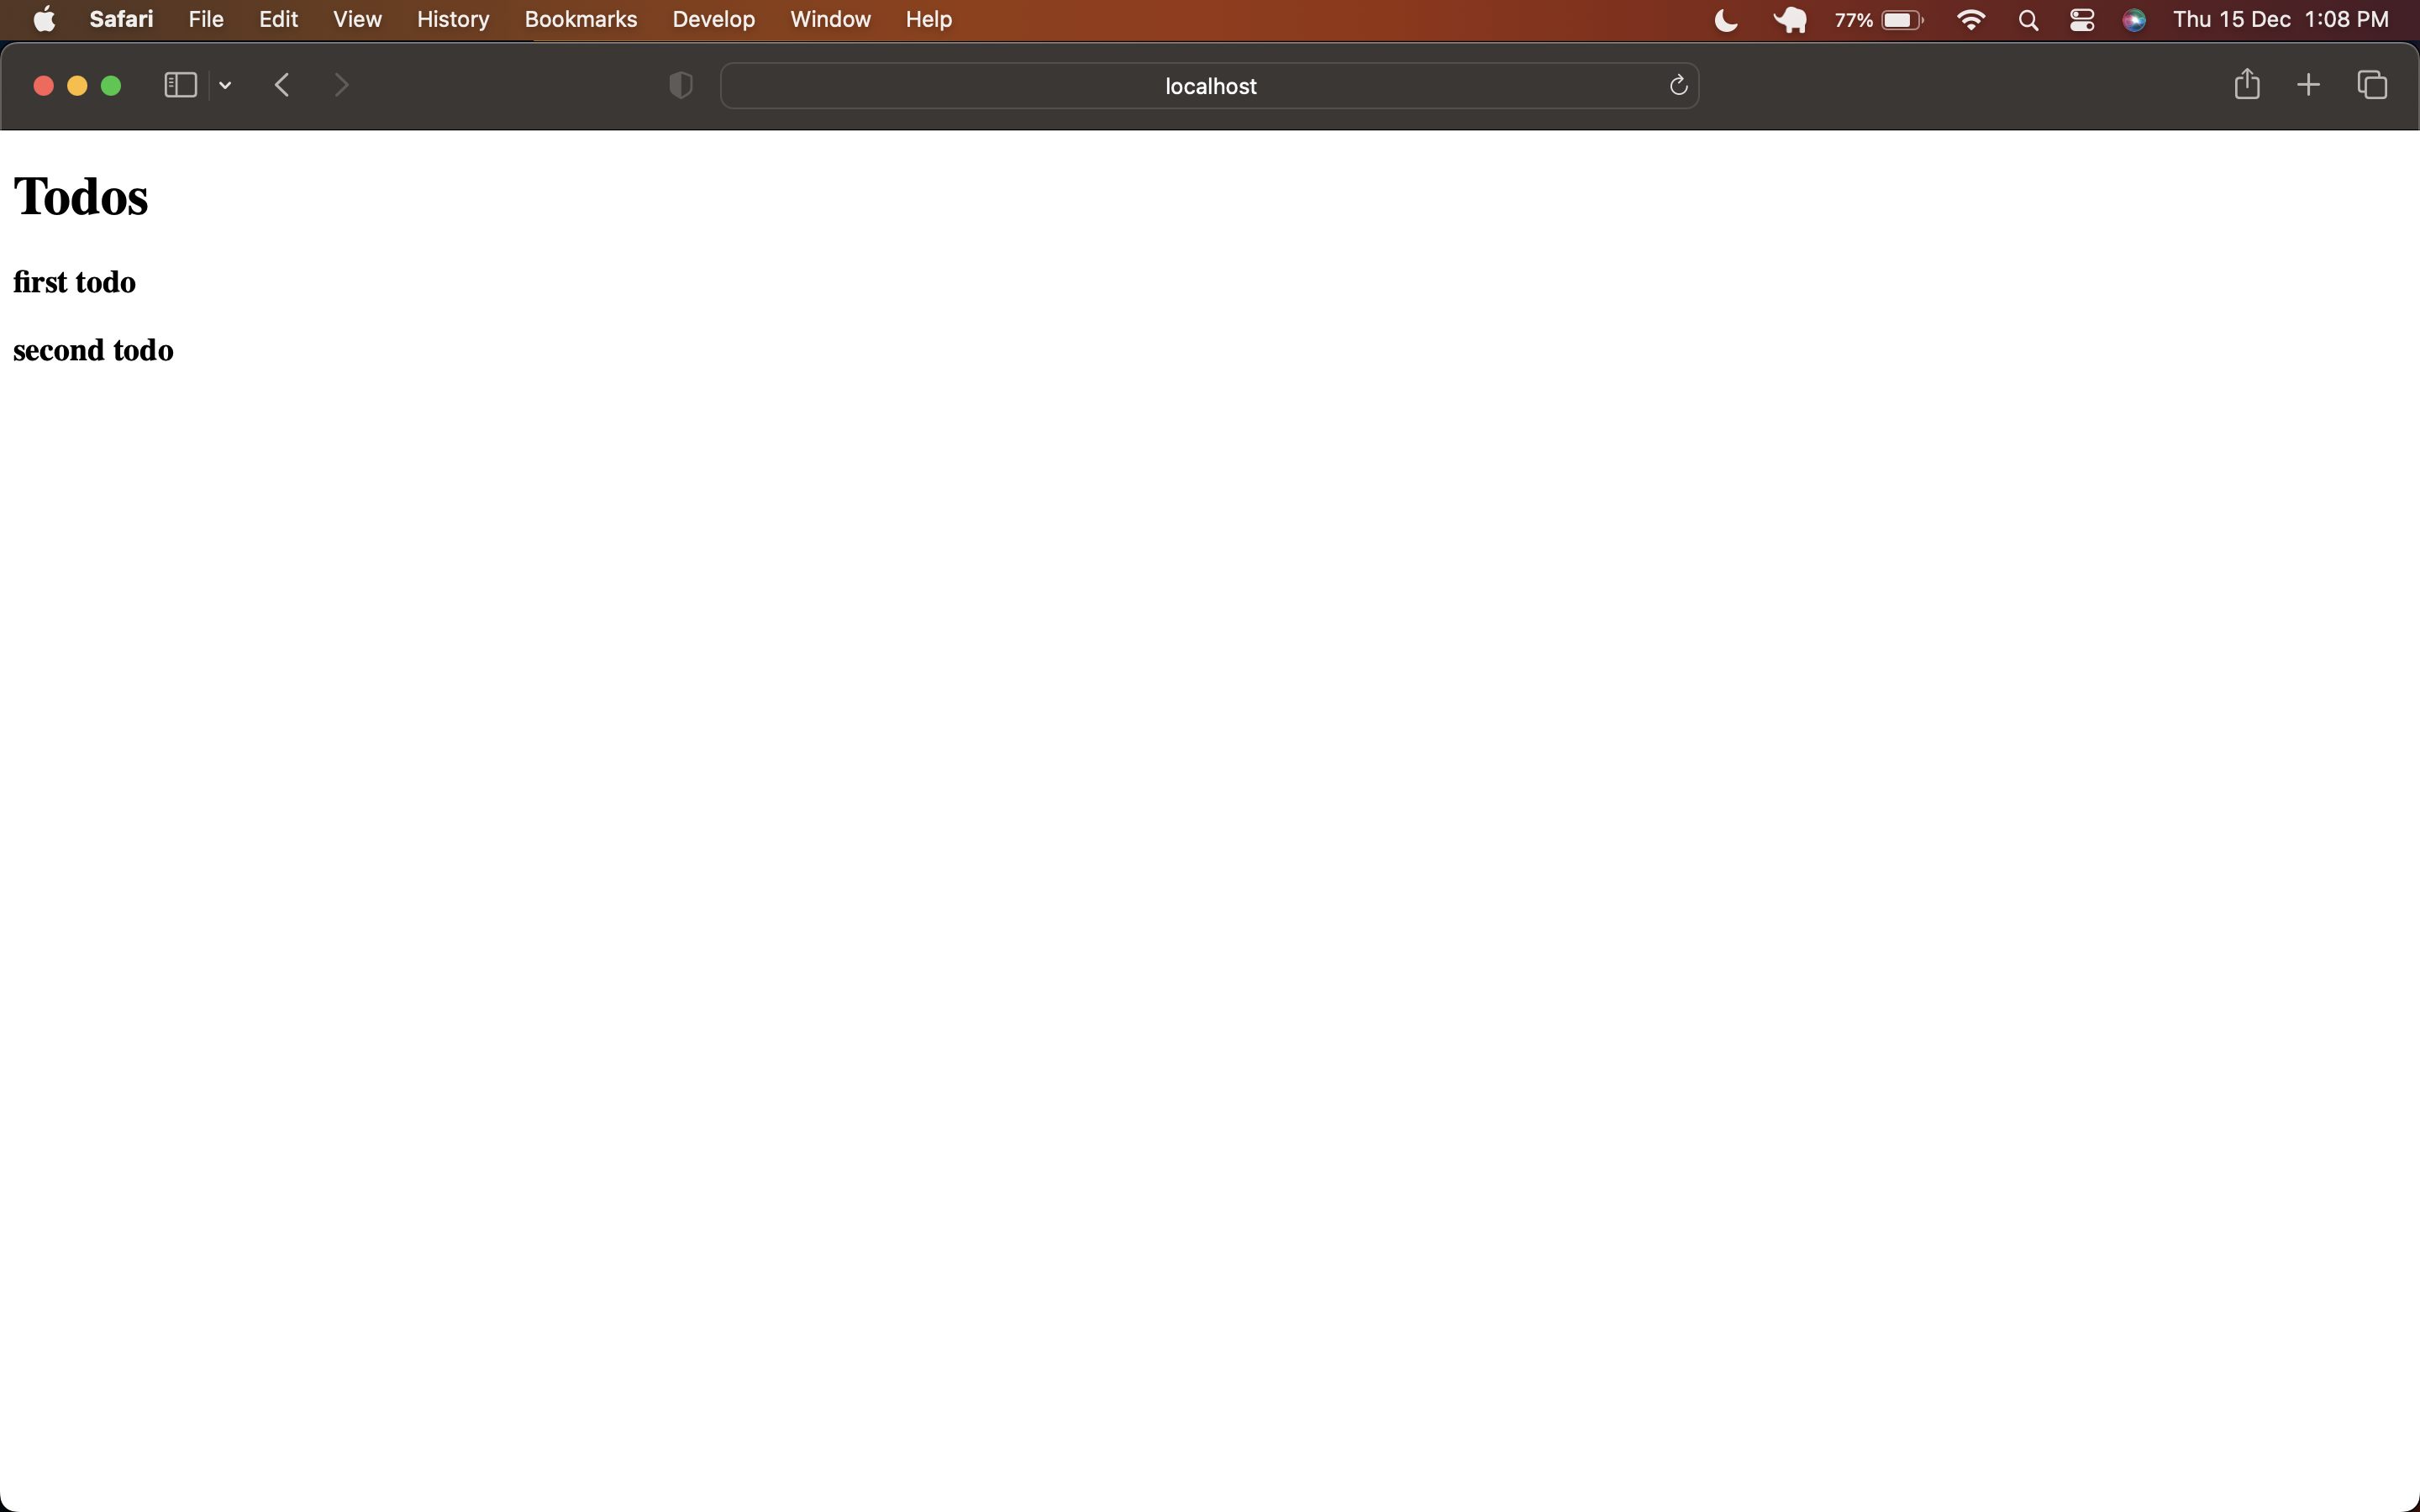
The react-redux library export useSelector hook. Hook takes a callback function which gets the store's state. We can either return the whole state or the part of the state we want, so here we are only returning todos.
In the above code, we mention state.todos. We can do this because of the property name we provided to the main store object for the todos slice reducer.
src/store/index.js
import { configureStore } from "@reduxjs/toolkit";
import todosReducer from "./todos";

export default configureStore({
  reducer: {
    todos: todosReducer,
  },
});
Now let's see how to change our state. We will add the remove functionality to our app. Create a remove button and attach a click event listener for every todo element.
src/components/Todos.jsx
import React from "react";
import { useSelector } from "react-redux";

const Todos = () => {
  const { todos } = useSelector((state) => state.todos);

  const handleRemove = (id) => {};

  return (
    <div>
      <h1>Todos</h1>
      {todos.map((todo) => (
        <div key={todo.id}>
          <h3>{todo.title}</h3>
          <button
            onClick={() => {
              handleRemove(todo.id);
            }}
          >
            Remove
          </button>
        </div>
      ))}
    </div>
  );
};

export default Todos;
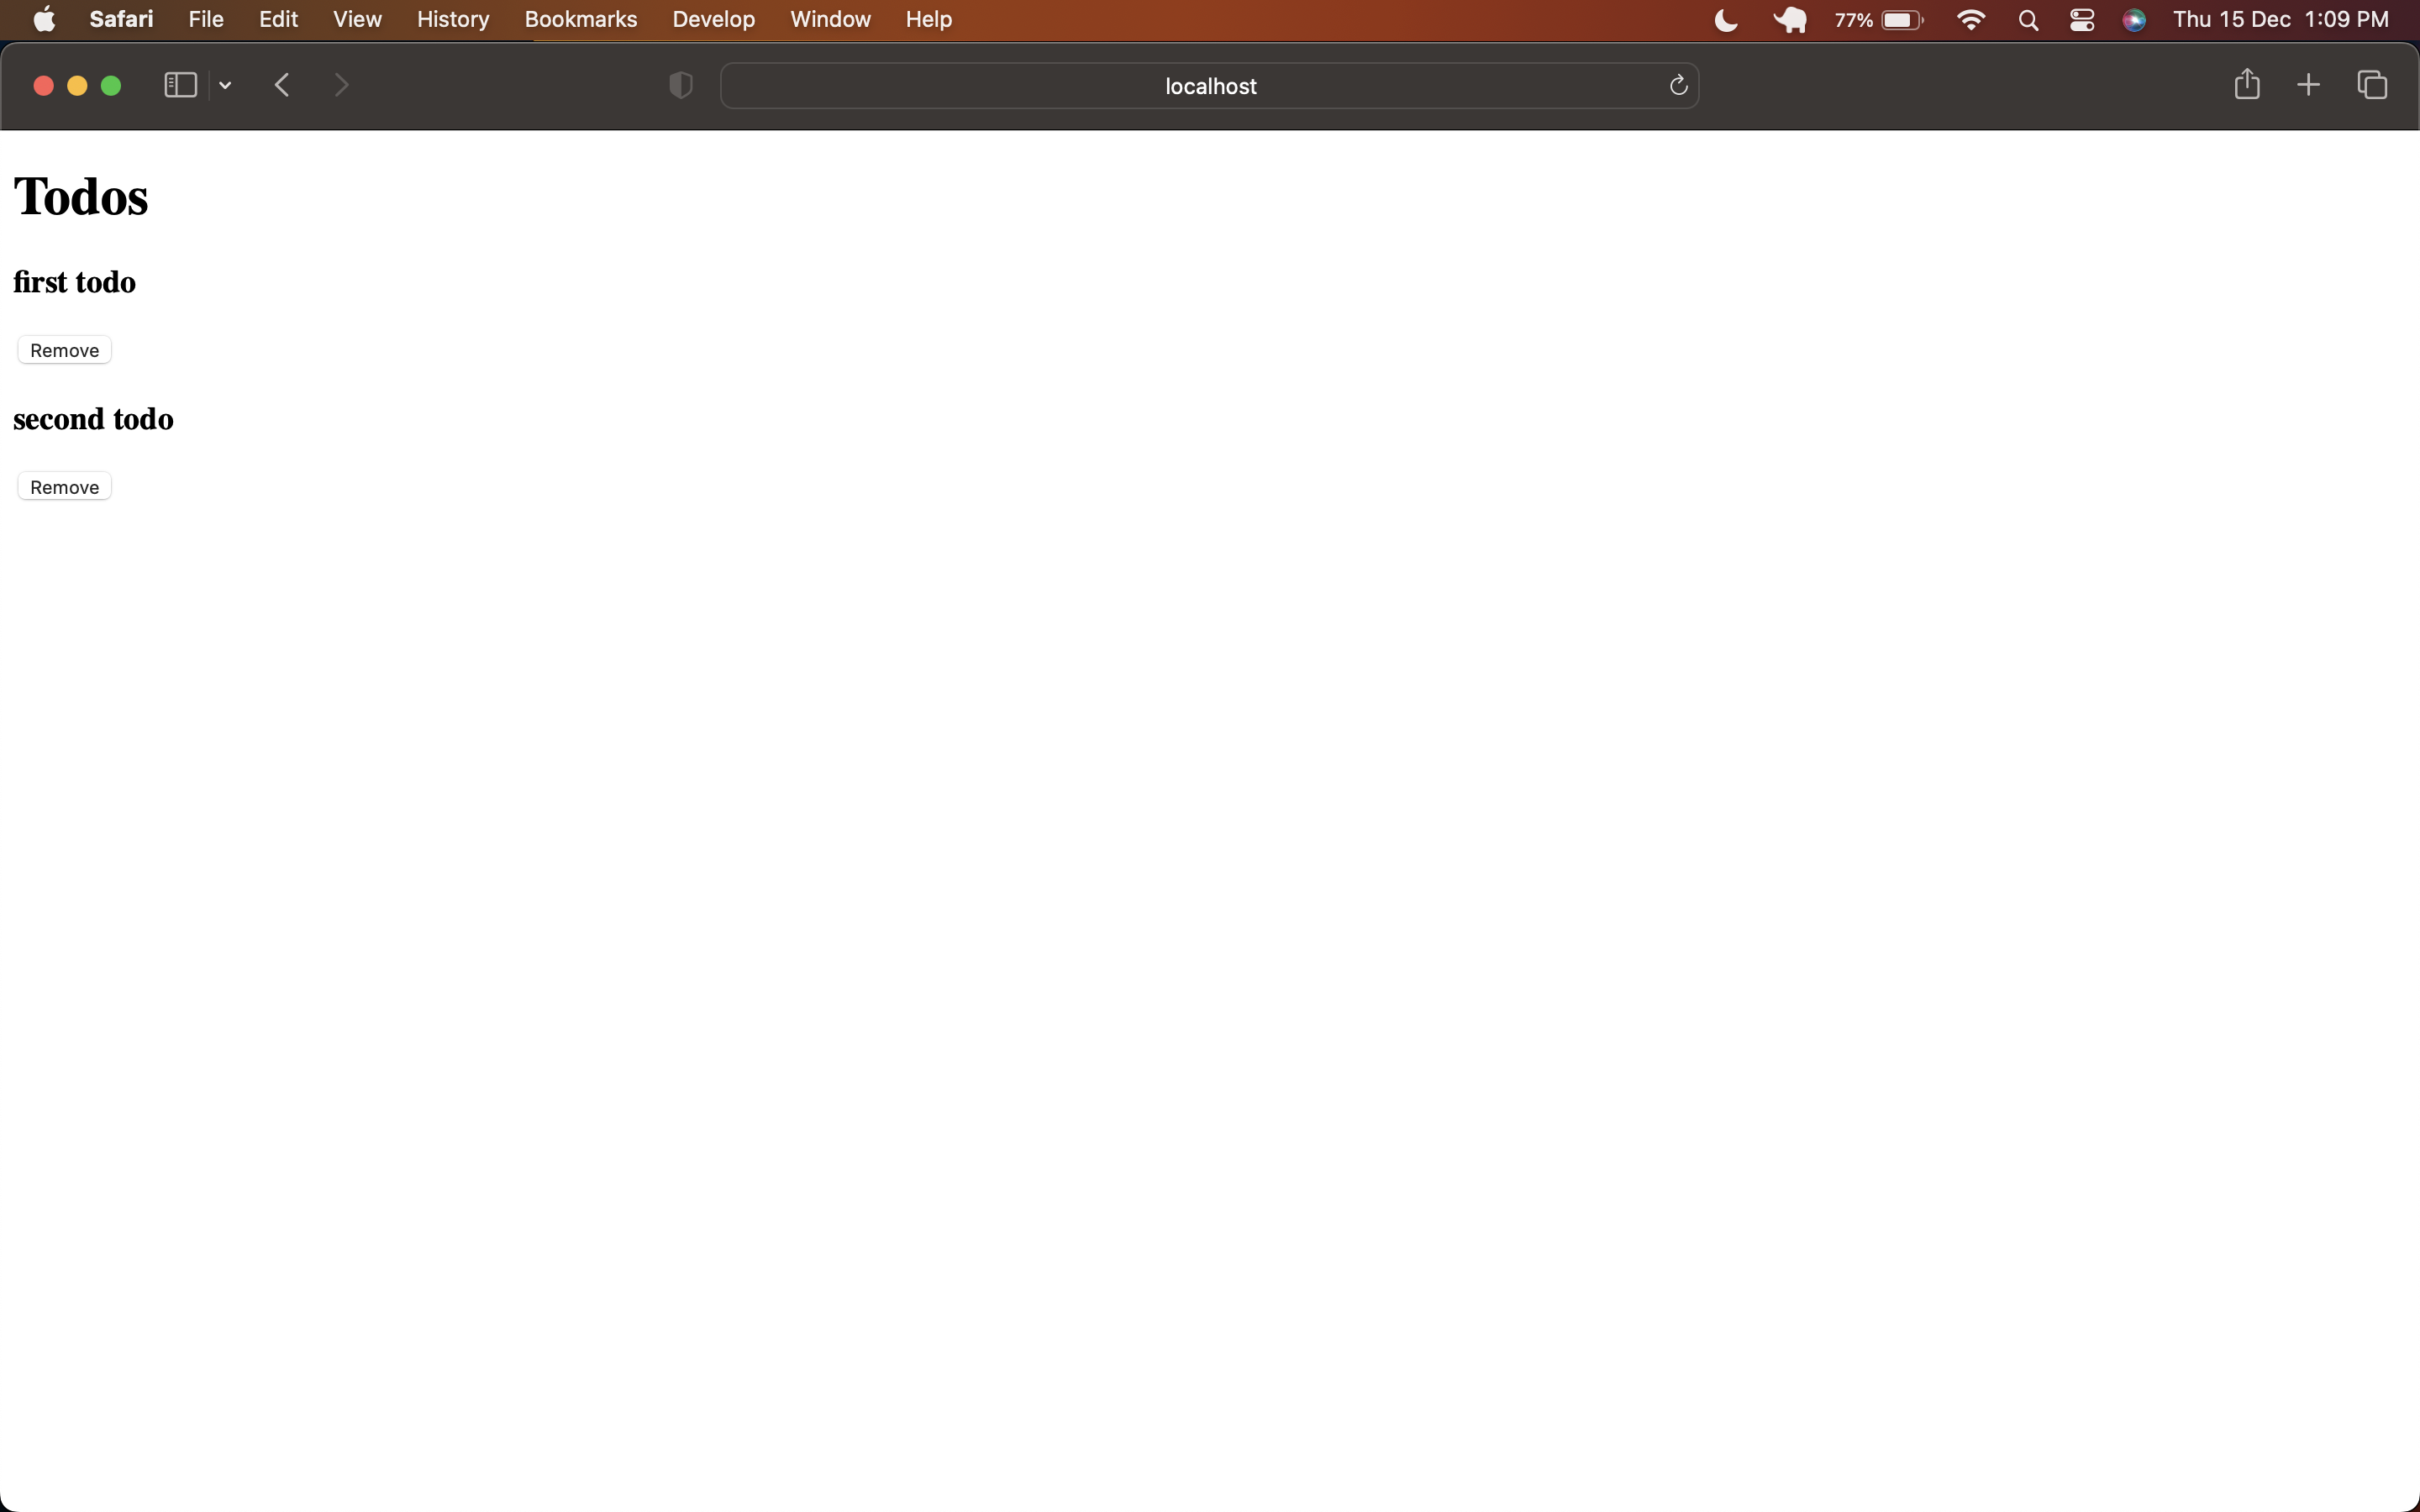
Now we have empty handleRemove for every to-do registered with the to-do id.
Let's create a reducer function to remove todo from the store's state.
src/store/todos.js
import { createSlice } from "@reduxjs/toolkit";

const todosSlice = createSlice({
  name: "todos",
  initialState: {
    todos: [
      { id: "1", title: "first todo", completed: false },
      { id: "2", title: "second todo", completed: false },
    ],
  },
  reducers: {
    remove(state, action) {
      state.todos = state.todos.filter((todo) => todo.id !== action.payload);
    },
  },
});

export default todosSlice.reducer;
Methods inside the reducers object will have two parameters. First will be the current state and the second will be the action with a payload. When we call this reducer we can provide arguments as payload with it.
To call this method we need action for the remove method so that we can dispatch the action. Slices will automatically create actions for us that we can export and use.
src/store/todos.js
import { createSlice } from "@reduxjs/toolkit";

const todosSlice = createSlice({
  name: "todos",
  initialState: {
    todos: [
      { id: "1", title: "first todo", completed: false },
      { id: "2", title: "second todo", completed: false },
    ],
  },
  reducers: {
    remove(state, action) {
      console.log(action);
      state.todos = state.todos.filter((todo) => todo.id !== action.payload);
    },
  },
});

export const todosActions = todosSlice.actions;
export default todosSlice.reducer;
Now we have exported the actions which can be dispatched from anywhere. Let's dispatch the action inside our handleRemove function.
src/components/Todos.jsx
import React from "react";
import { useDispatch, useSelector } from "react-redux";
import { todosActions } from "../store/todos";

const Todos = () => {
  const { todos } = useSelector((state) => state.todos);
  const dispatch = useDispatch();

  const handleRemove = (id) => {
    dispatch(todosActions.remove(id));
  };

  return (
    <div>
      <h1>Todos</h1>
      {todos.map((todo) => (
        <div key={todo.id}>
          <h3>{todo.title}</h3>
          <button
            onClick={() => {
              handleRemove(todo.id);
            }}
          >
            Remove
          </button>
        </div>
      ))}
    </div>
  );
};

export default Todos;
First, we have to import useDispatch hook from react-redux .useDispatch hook returns a function to which we have to specify an action with the payload.
Hurray!! Our application can remove todos 😄.
Now to add some asynchronous code let's fetch todos from API. We cannot add async functions inside of the reducers object. We have to define our asynchronous function and create our reducer logic. To create an async function we can use createAsyncThunk function. We can pass an async function to this method and return a promise. The createAsyncThunk will create lifecycle methods for the state slice.
src/store/todos.js
import { createAsyncThunk, createSlice } from "@reduxjs/toolkit";

export const getTodos = createAsyncThunk("todos/getTodos", async () => {
  const response = await fetch("https://jsonplaceholder.typicode.com/todos");
  const todos = await response.json();
  return todos;
});

const todosSlice = createSlice({
  name: "todos",
  initialState: {
    loading: false,
    todos: [
      { id: "1", title: "first todo", completed: false },
      { id: "2", title: "second todo", completed: false },
    ],
    error: null,
  },
  reducers: {
    remove(state, action) {
      console.log(action);
      state.todos = state.todos.filter((todo) => todo.id !== action.payload);
    },
  },
  extraReducers: {
    [getTodos.pending]:(state, action) => {
      state.loading = true;
    },
    [getTodos.fulfilled]:(state, action) => {
      state.todos = action.payload;
      state.loading = false;
      state.error = null;
    },
    [getTodos.rejected]:(state, action) => {
      state.loading = false;
      state.error = "something went wrong";
    },
  },
});

export const todosActions = todosSlice.actions;
export default todosSlice.reducer;
We have created the getTodos function which uses createAsyncThunk . The first argument requires the function name prefixed with the slice name. The second argument is an async function which should return a promise. This function doesn't create a reducer for us. We have to handle the reducer and lifecycle logic inside extraReducers property.
There are some extra initial state properties added (loading and error). The getTodos function is also exported and we can directly dispatch this method.
src/components/Todos.jsx
import React, { useEffect } from "react";
import { useDispatch, useSelector } from "react-redux";
import { getTodos, todosActions } from "../store/todos";

const Todos = () => {
  const { todos, loading, error } = useSelector((state) => state.todos);
  const dispatch = useDispatch();

  const handleRemove = (id) => {
    dispatch(todosActions.remove(id));
  };

  useEffect(() => {
    dispatch(getTodos());
  }, [dispatch]);

  if (loading) {
    return <div>Loading...</div>;
  }

  if (!loading && error) {
    return (
      <div>
        <h1>Error</h1>
        <p>{error}</p>
      </div>
    );
  }

  return (
    <div>
      <h1>Todos</h1>
      {todos.map((todo) => (
        <div key={todo.id}>
          <h3>{todo.title}</h3>
          <button
            onClick={() => {
              handleRemove(todo.id);
            }}
          >
            Remove
          </button>
        </div>
      ))}
    </div>
  );
};

export default Todos;
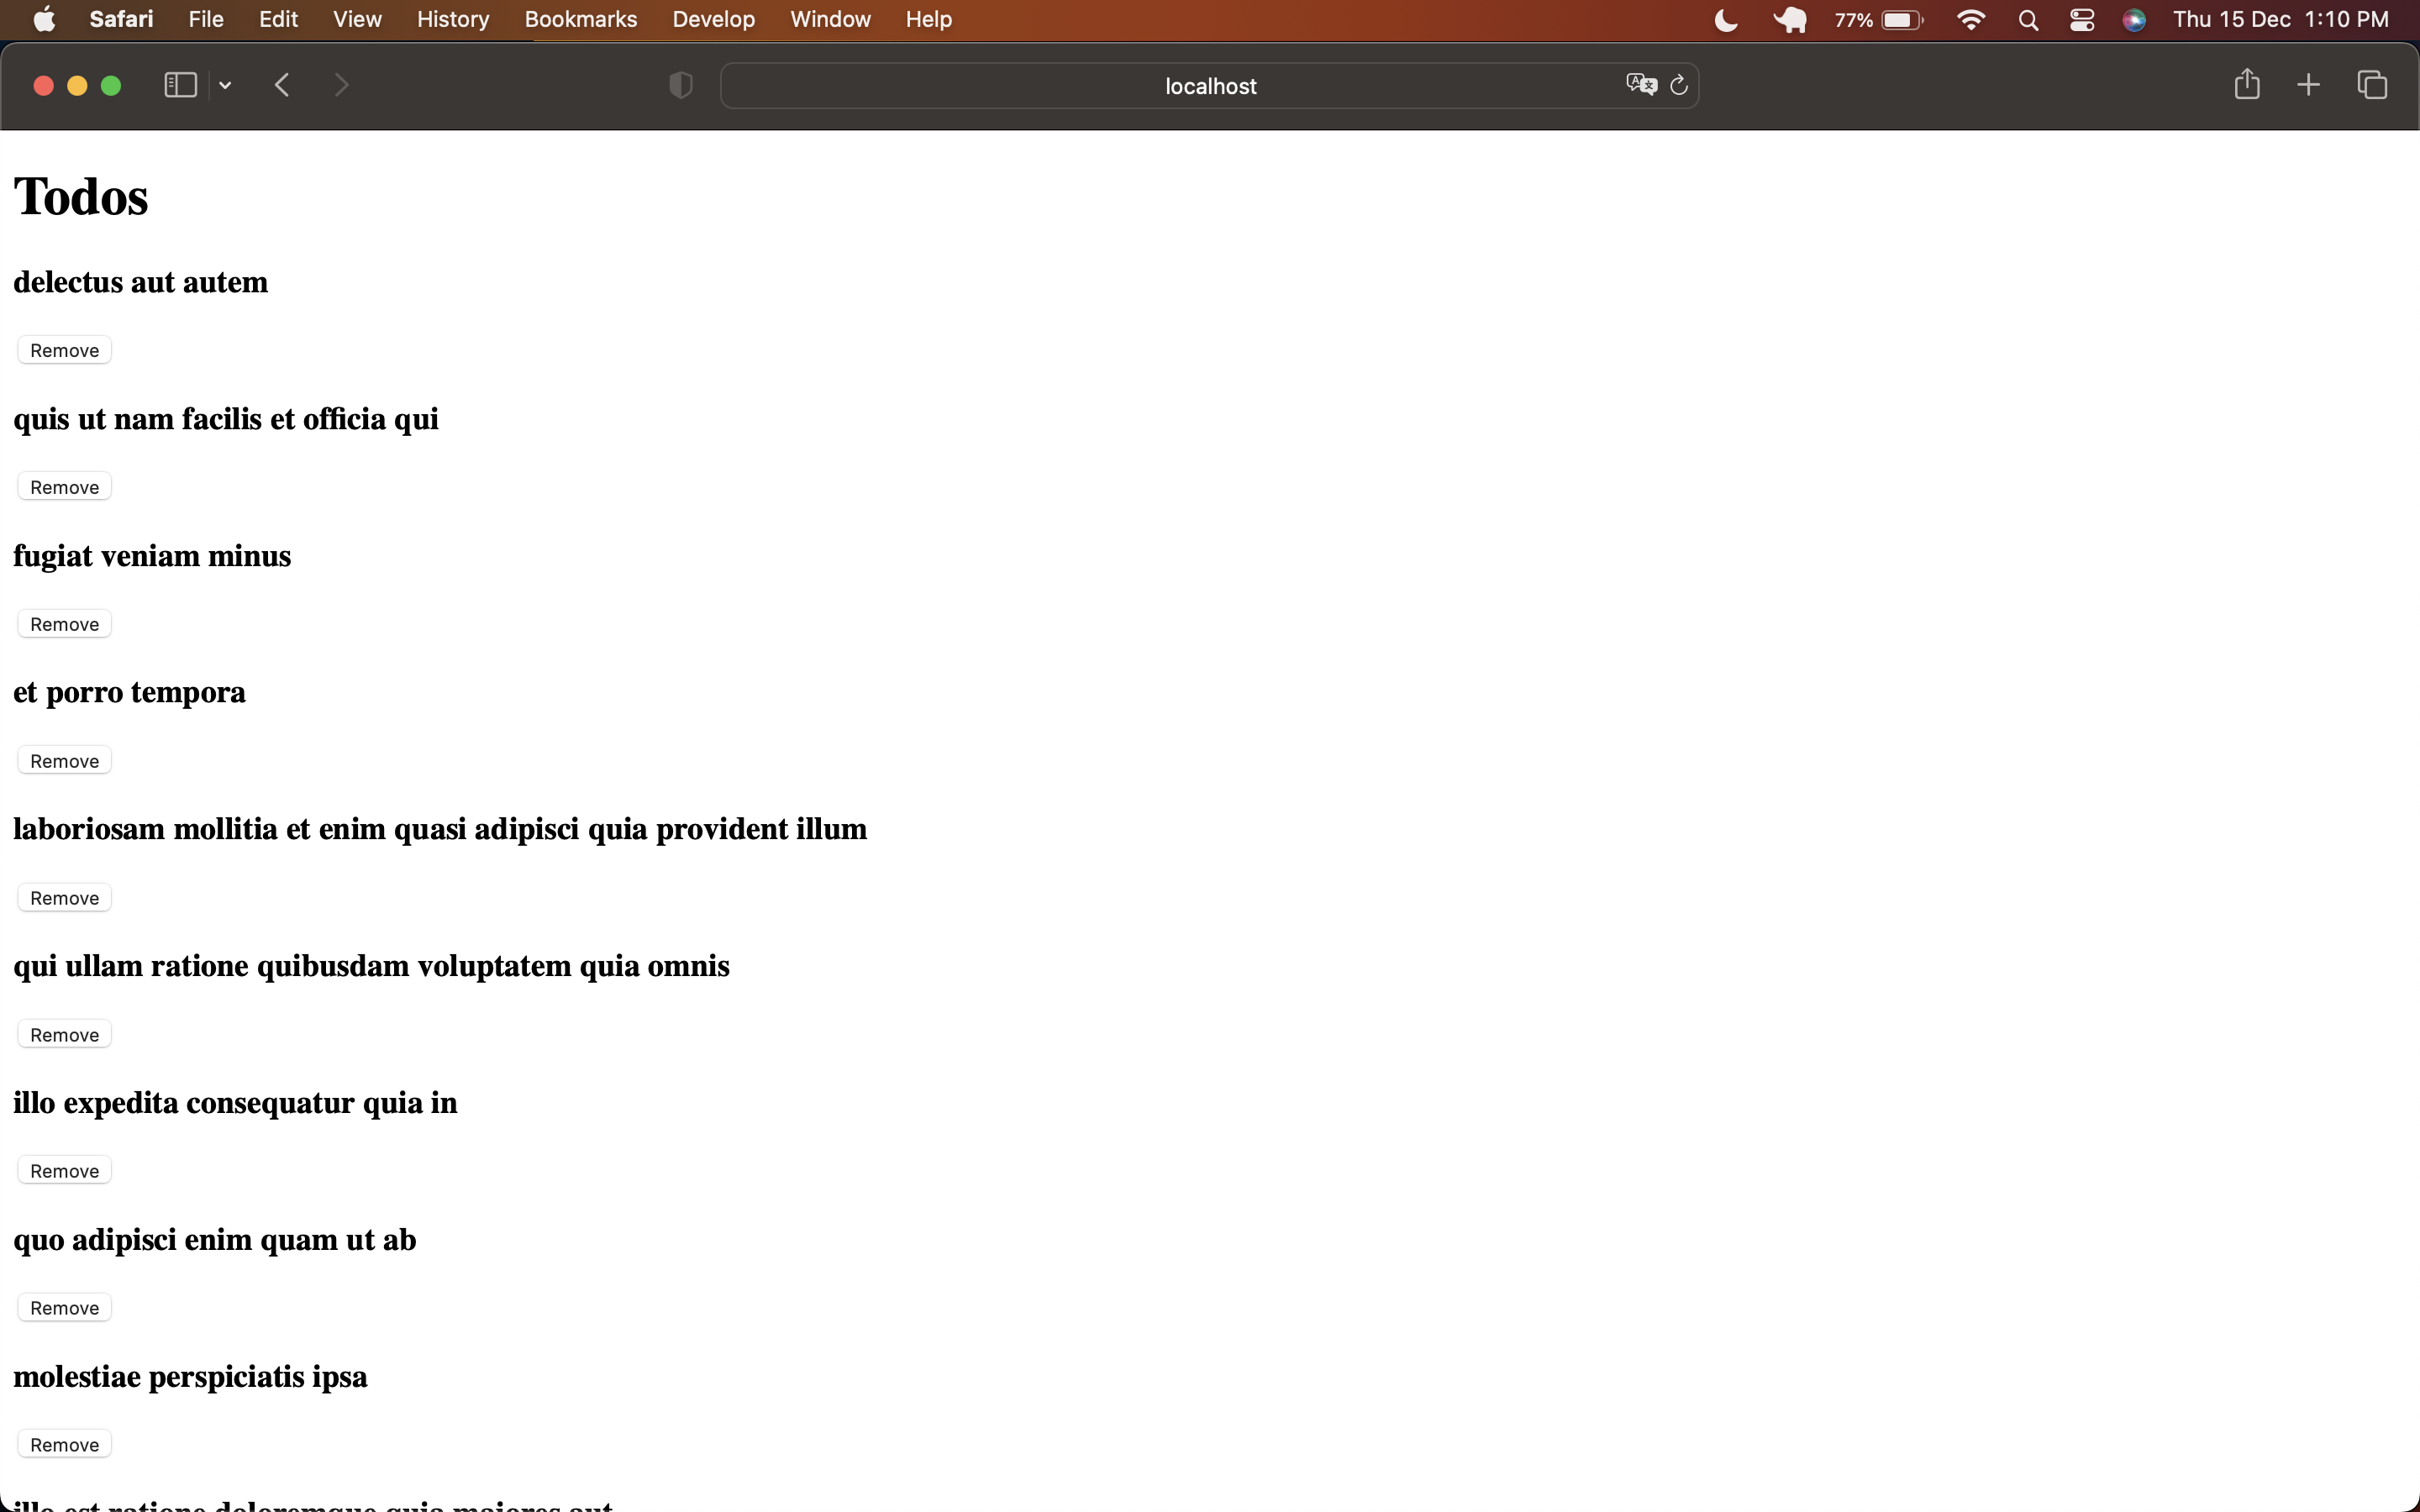
We just have to dispatch the getTodos method in Todos.jsx
With that, we finished our application which is using the redux and redux toolkit 💥